


SELF-SANITISATION AGAINST BACTERIA AND FUNGI
Close
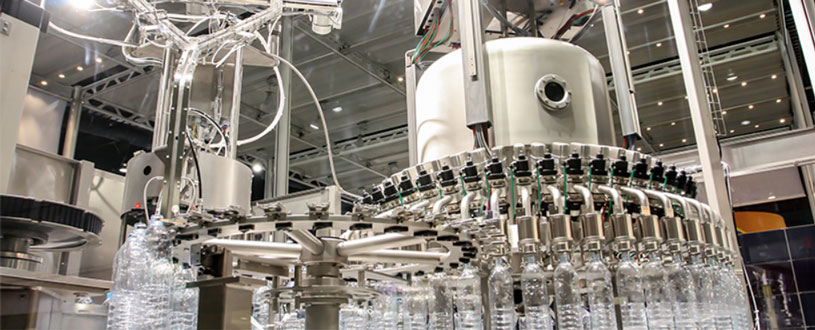
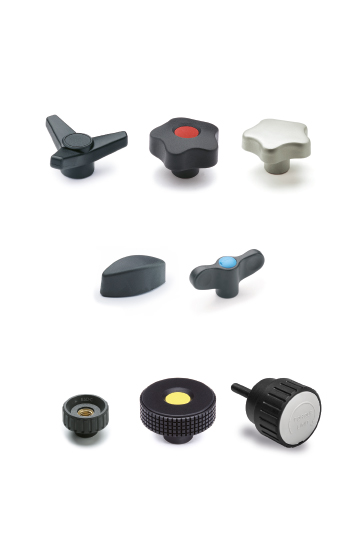
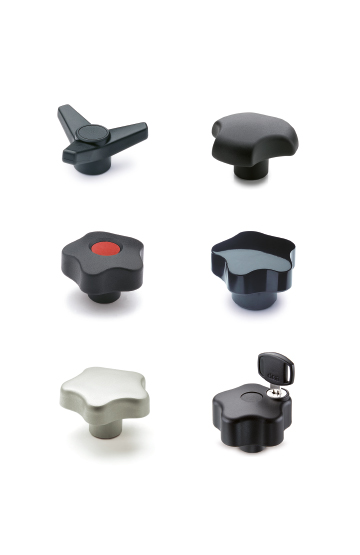
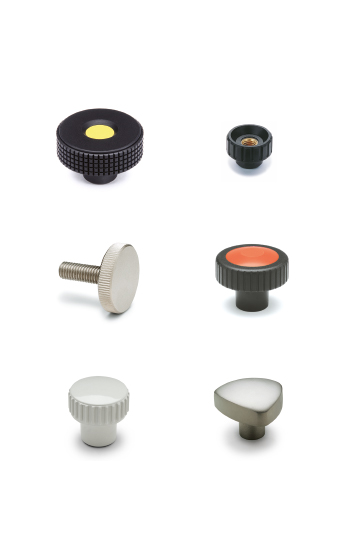
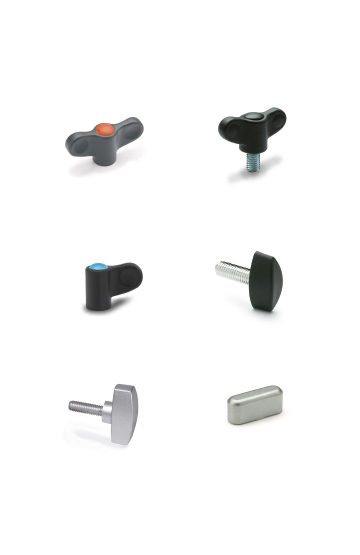
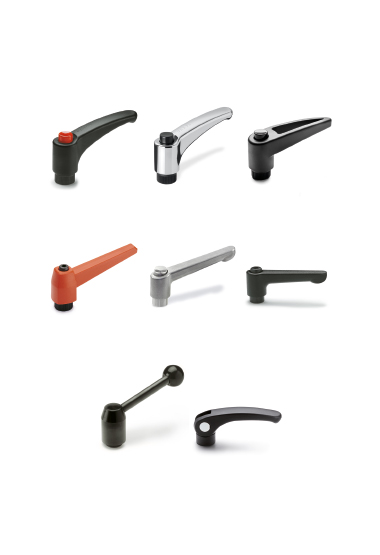
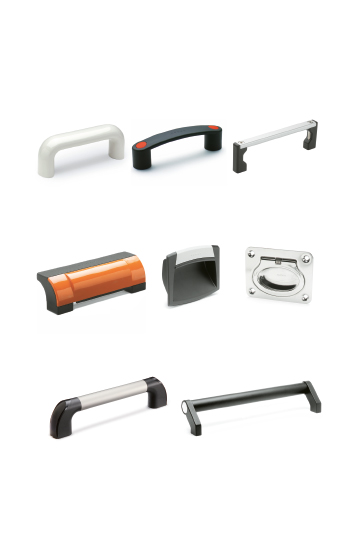
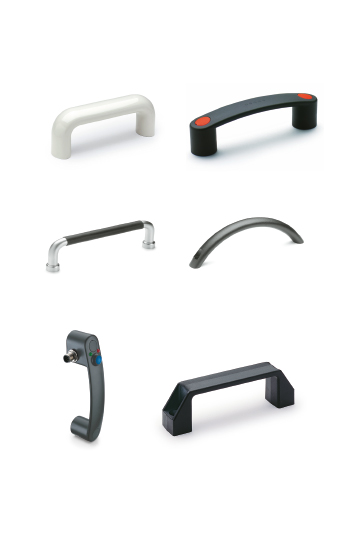
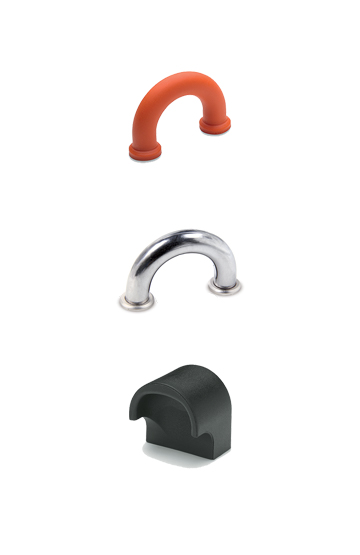
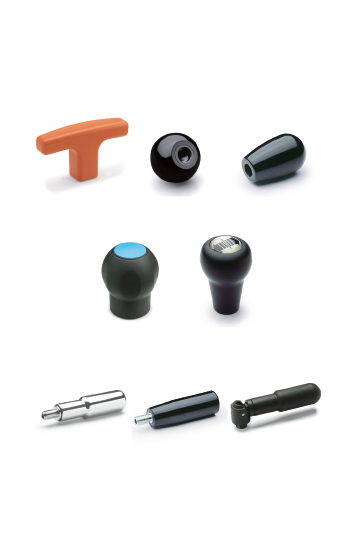
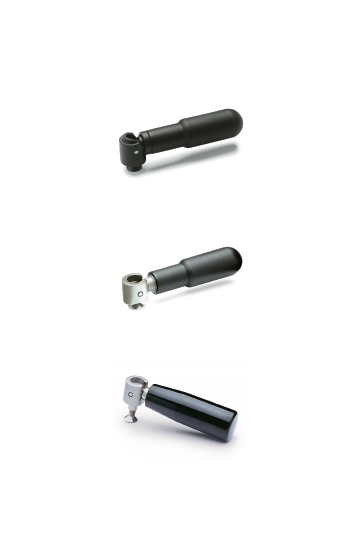
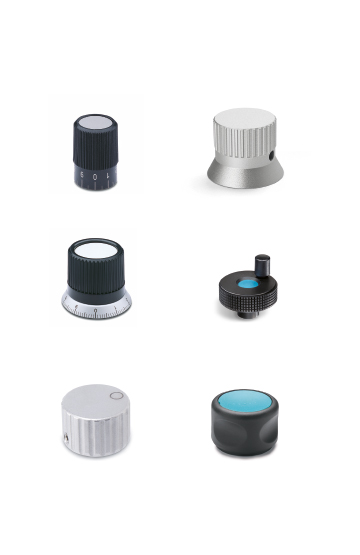
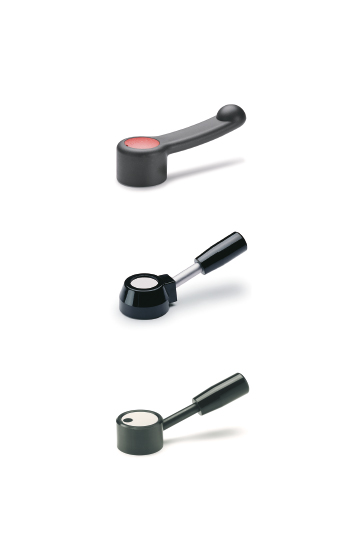
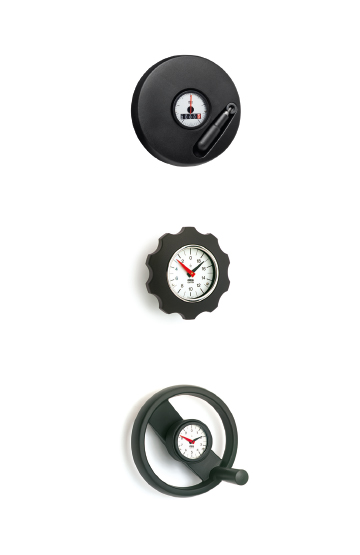
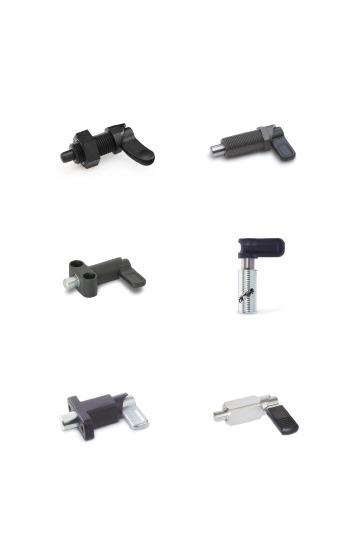
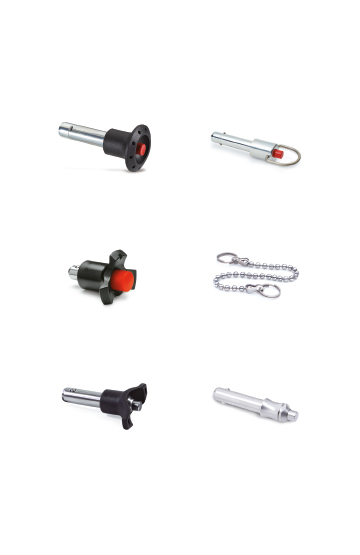
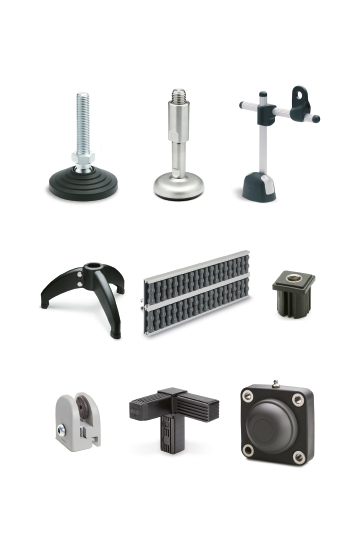
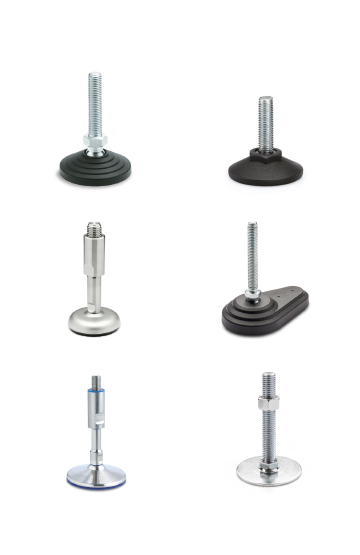
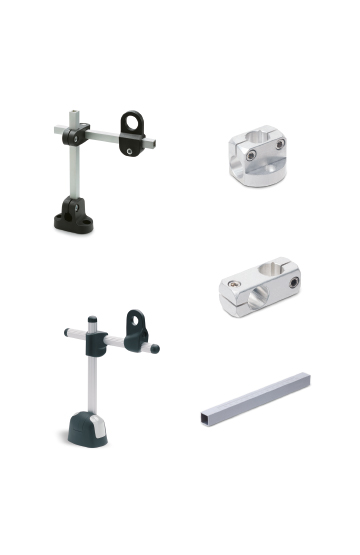
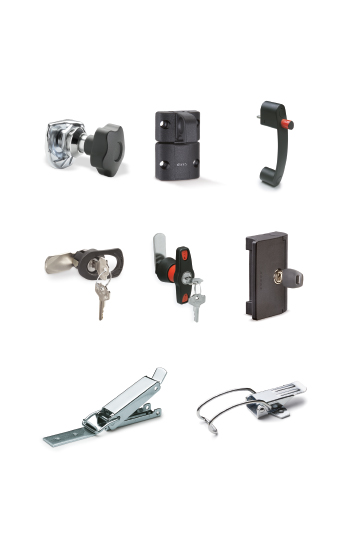
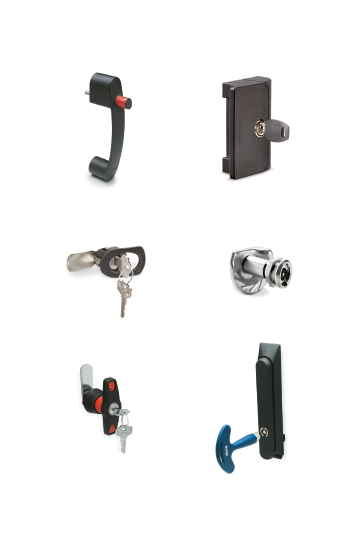
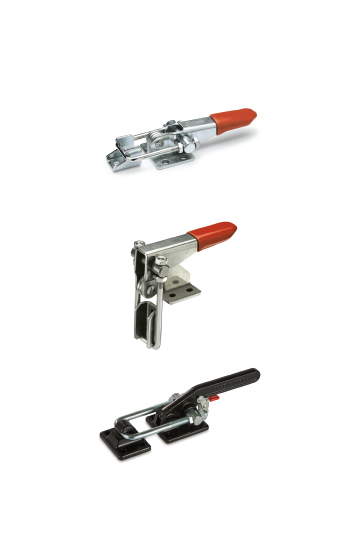
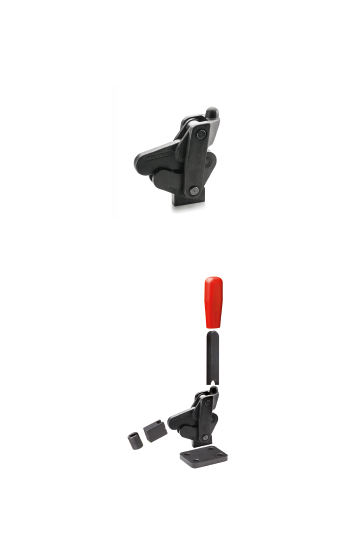
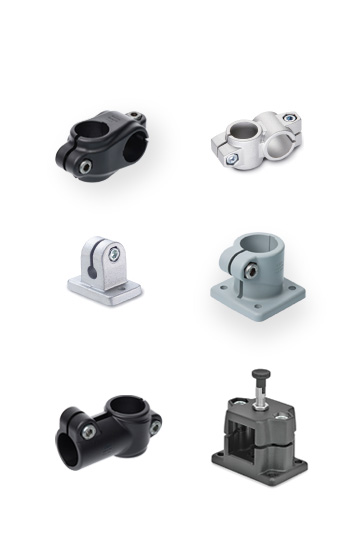
Components for manoeuvring, clamping and locking operations on equipment, including sports equipment and furniture in the nautical sector.
Corrosion resistance, ergonomics, compact shapes and great care in the choice of materials and finishes ease of cleaning
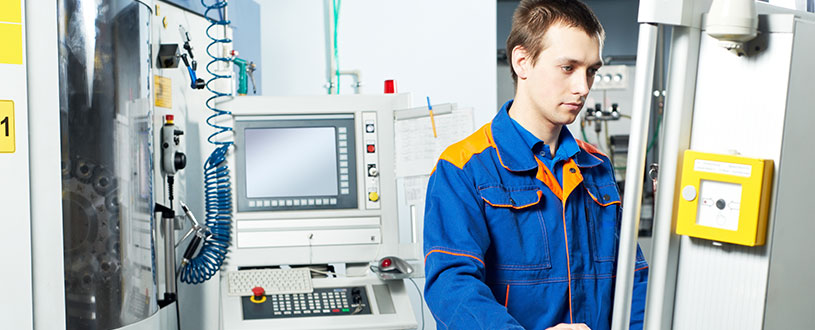
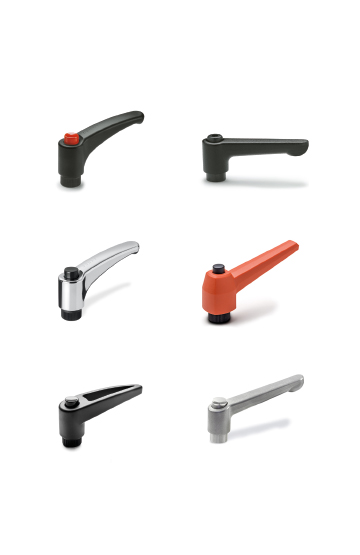
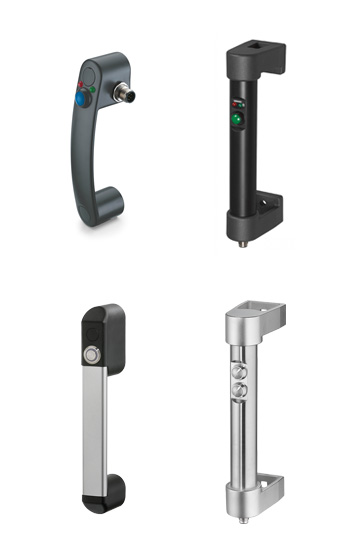
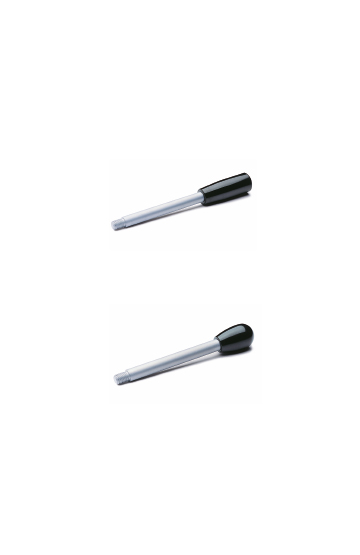
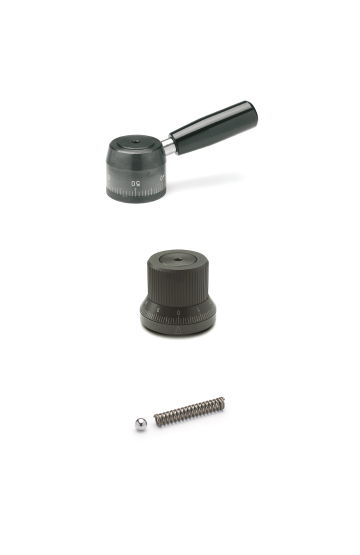
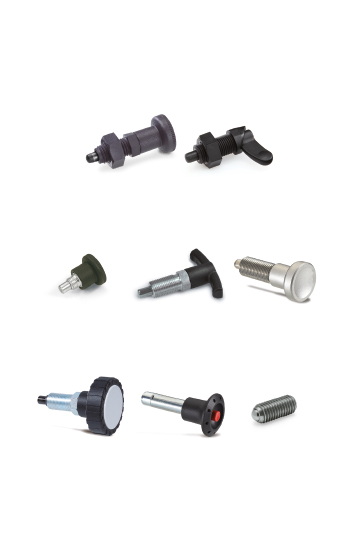
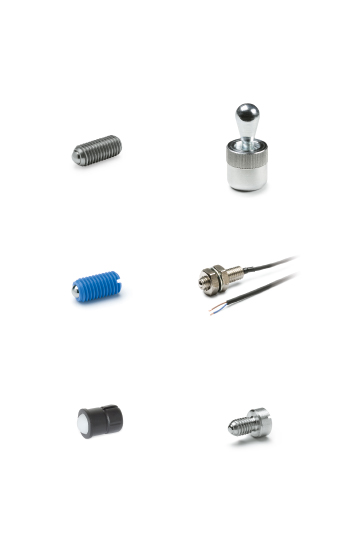
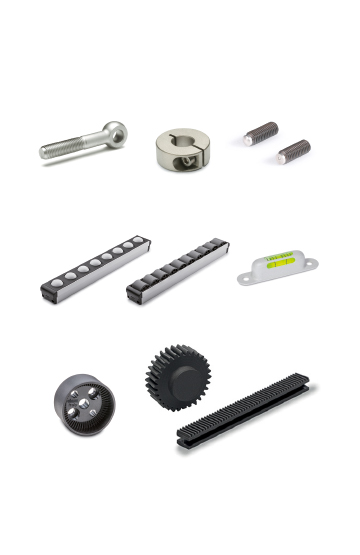
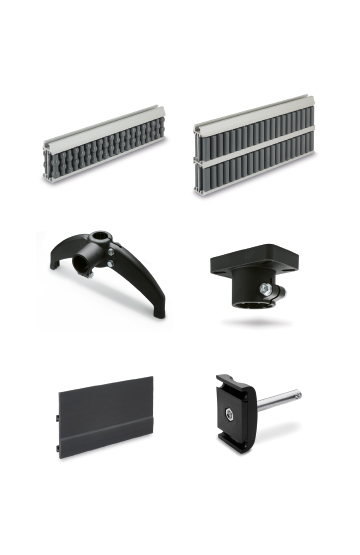
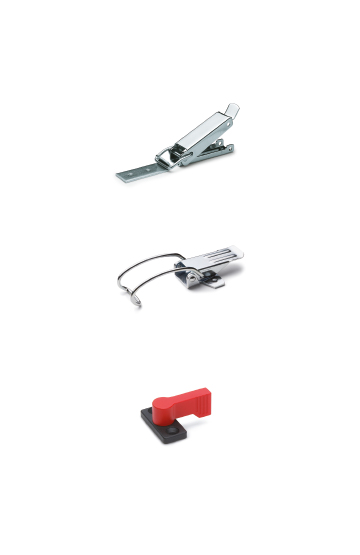
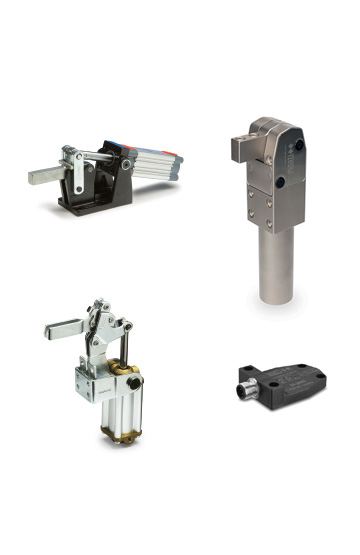
Components for construction vehicles, equipment and machinery which operate in particularly unfavourable conditions
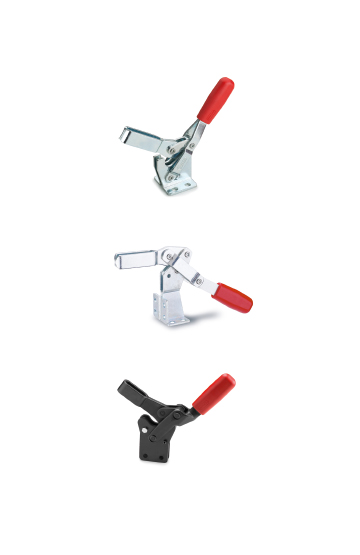
High quality standards, precision in tolerances and care in surface finishes are requirements that ensure greater precision in operation
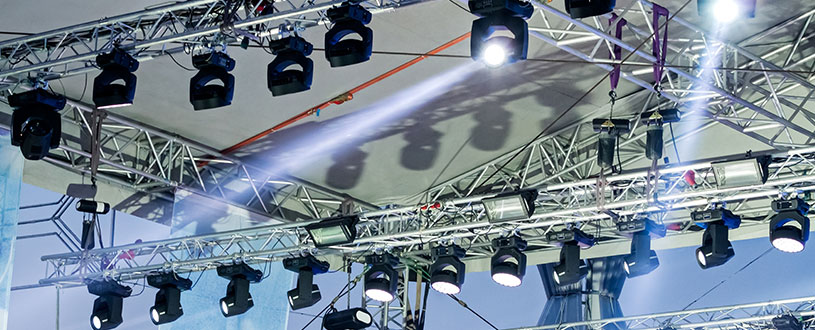
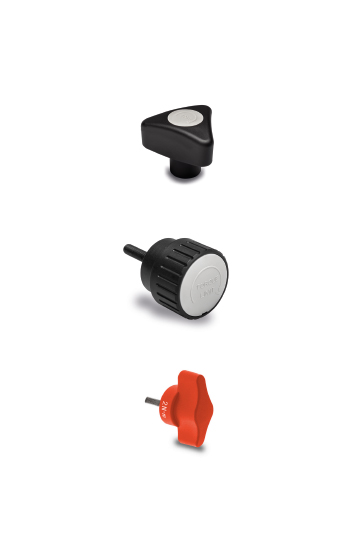
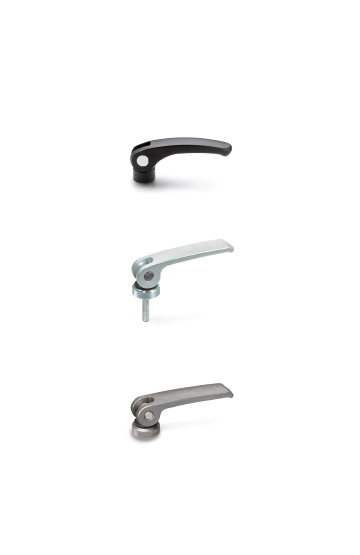
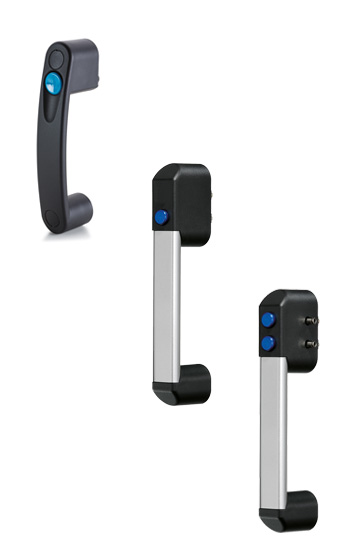
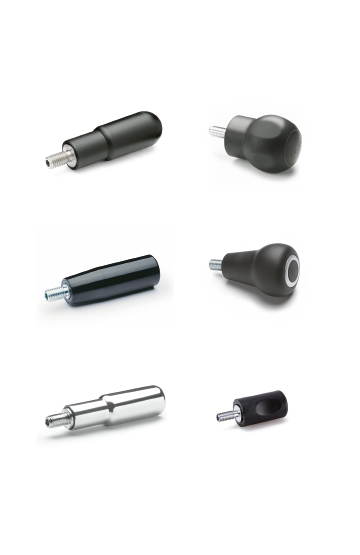
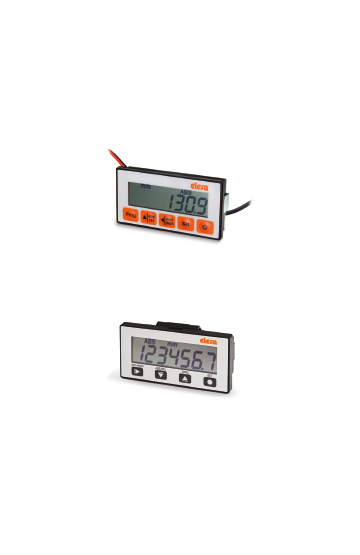
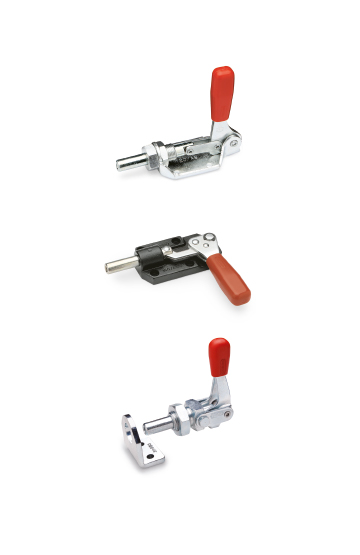
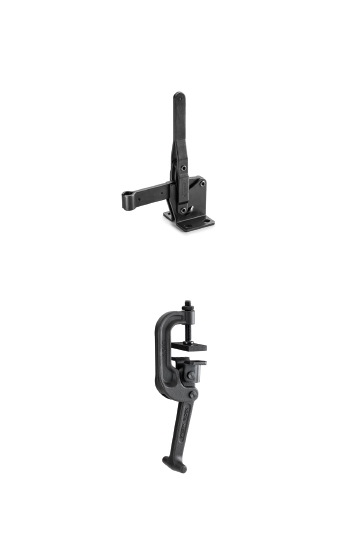
Clamping knobs, adjustable handles and self-locking pins for clamping operations in the field of photography, lighting and electronic equipment
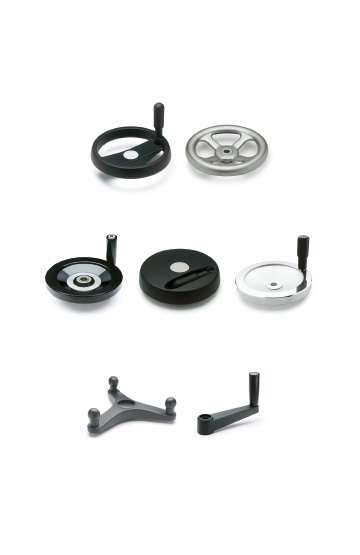
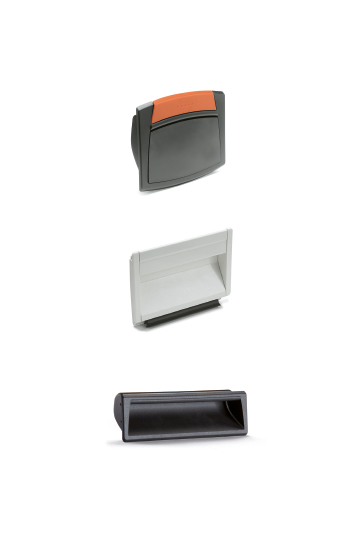
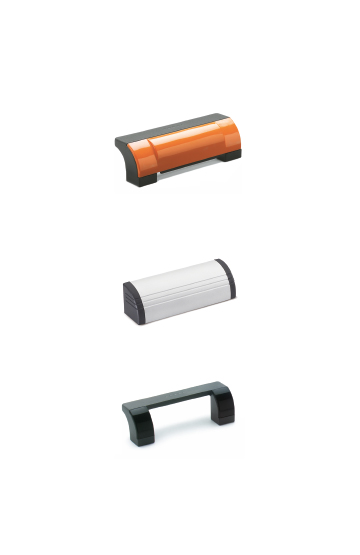
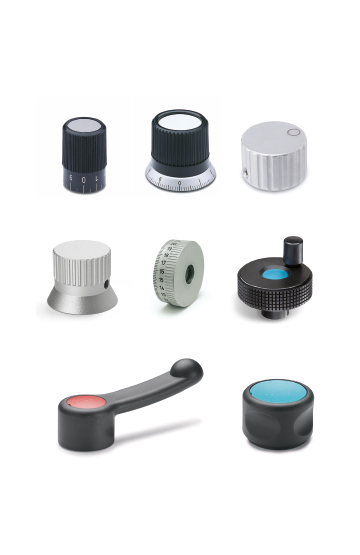
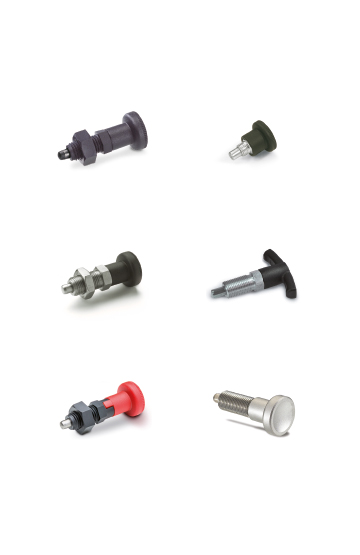
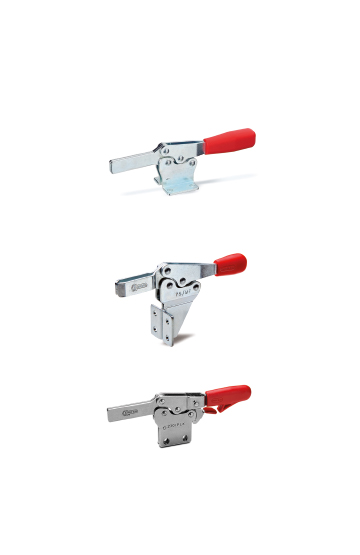
Components to perform clamping and locking operations on machinery or equipment. Ergonomics and design combined with colours
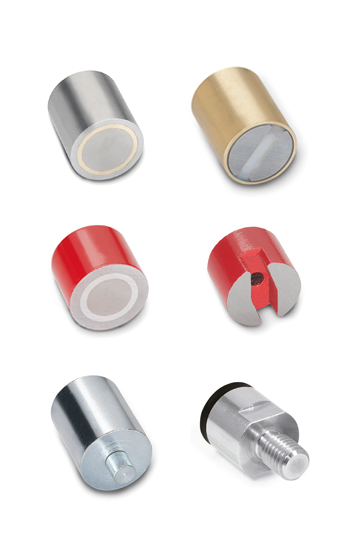
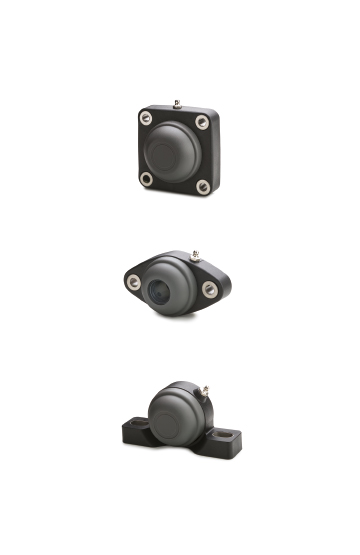
Type SW: With two spanner flats
Coding
Lock housing
Stainless steel AISI 316L
Latch arm
Stainless steel
Seals (full hygiene)
Blue, FDA compliant
Temperature resistant -40 °C to +110 °C
Packing ring / O-ring
EPDM E
Other parts
Stainless steel AISI 316L
All moving parts lubricated with FDA compliant special grease
Protection class IP 66
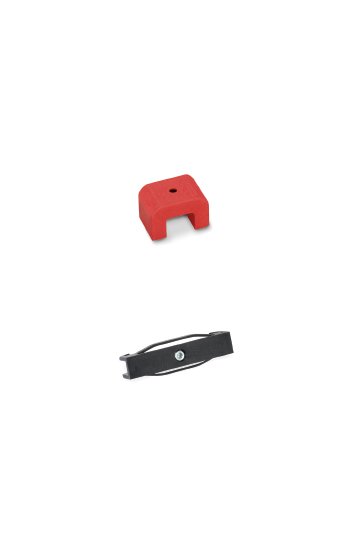
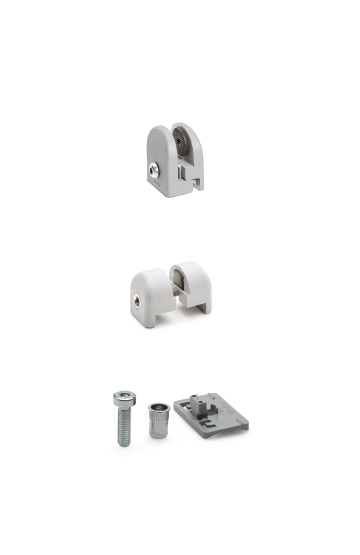
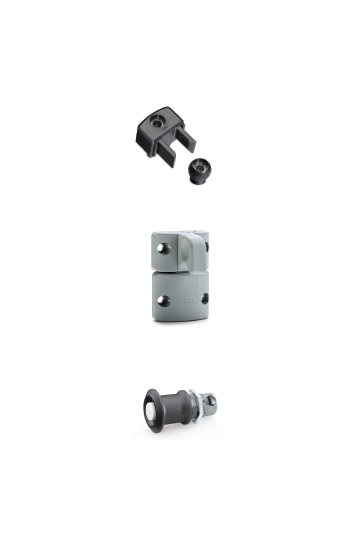
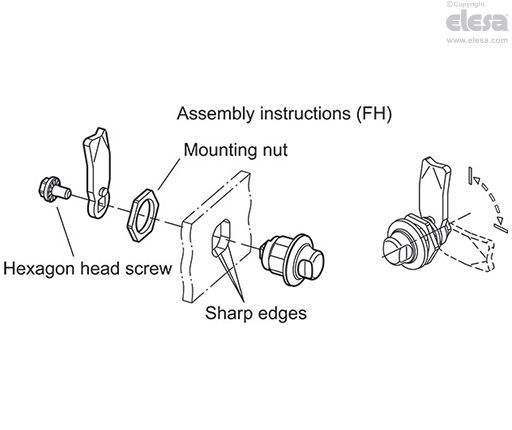
Stainless steel latches GN 1150 are intended for use in hygienic areas and meet hygiene requirements on the operating side (front hygiene) and on the operating and latch arm side (full hygiene) due to the special mounting nuts as well as the optimized latch arm and hexagon head screw. The locking mechanism is protected by two seals (front hygiene) and multiple seals (full hygiene). At the same time, the high surface quality (Ra < 0.8 µm) and dead-space-free mounting prevent dirt from adhering and facilitate cleaning.
The latches create a secure closure by rotating a maximum of 90°, which positions the latch arm in the locked position behind the frame. Slanted surfaces on the latch arm ensure smooth positioning. Latch arms are available with different bend angles to cover a latch arm distance A from 6 to 28 mm (front hygiene) and 22 to 44 mm (full hygiene).
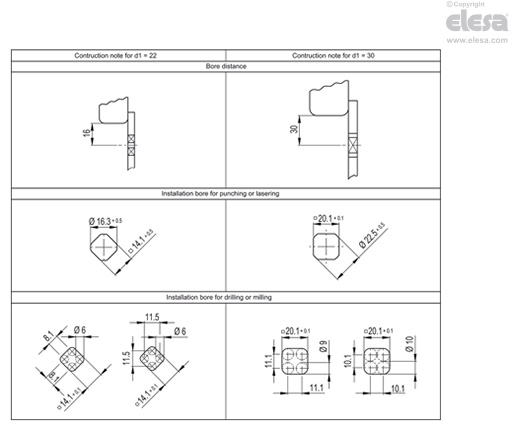
The mounting holes in the housing must be at a right angle, free of burrs and without a chamfer. This ensures that the sealing rings will function properly. Stainless steel latches GN 1150 (front hygiene) are supplied with loosely enclosed latch arm.

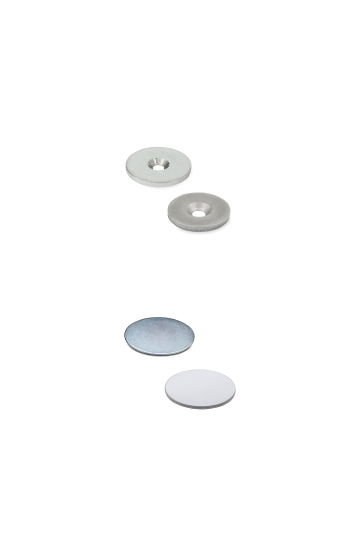
Sealing Rings GN 7600
For installation, set a bore diameter in the door, cover or hatch as shown in the outline drawing opposite.
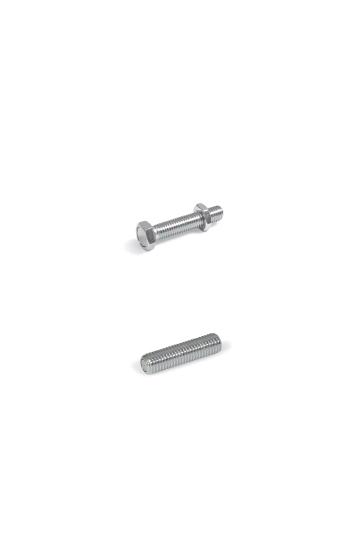
The latch housing is inserted into the installation bore from the front and secured from the back with the mounting nut. Then the latch arm is secured with the hexagon head screw.
In series production, the required installation bore in the door leaf is usually created by punching or laser cutting.
The installation bore diameter can also be created by drilling or milling as shown in the outline drawings.
The sheet metal punch GN 123 is also available for small series production and sheet steel with a thickness < 2 mm.